English
 Italian
Liferay is a Java open source web platform used in many enterprise portals implementations. Liferay features are commonly required for the development of intranet/extranet websites and portals, for content management and web publishing. It also provides a collaboration suite for sharing and knowledge management services like wikis, blogs, forums and so on.
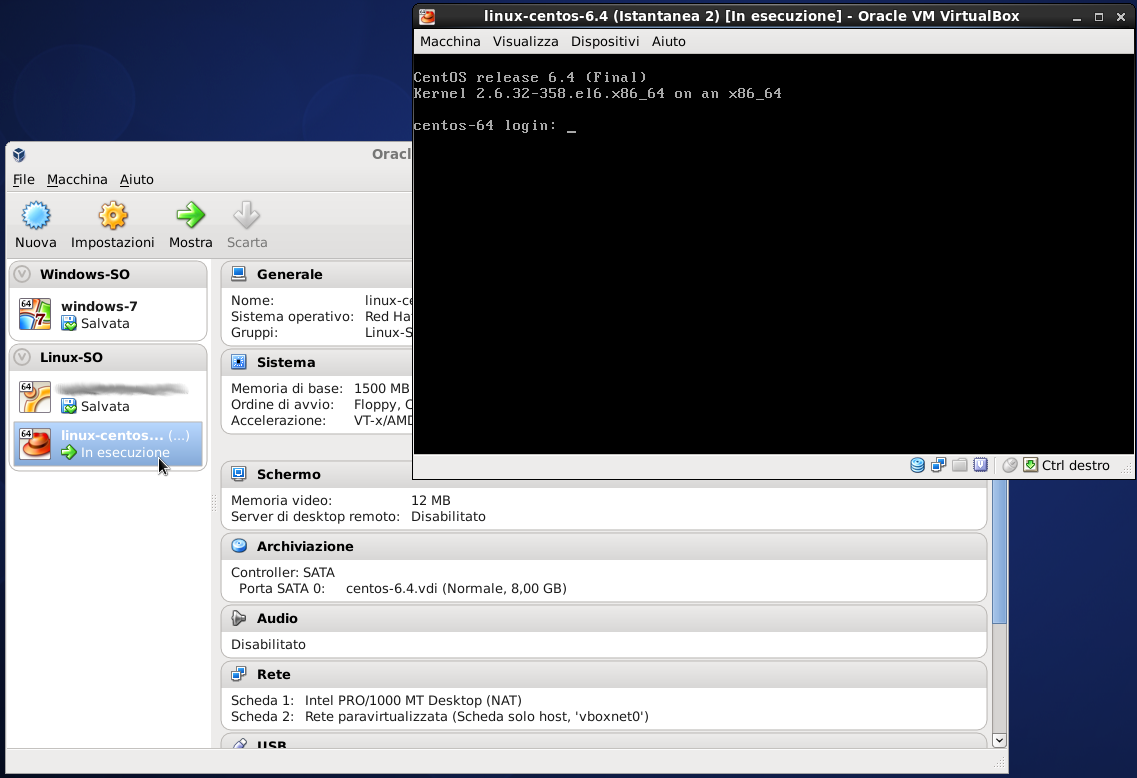
In this article I will perform a quick setup of Liferay Portal. For this I’ll use a test virtualized environment running on Virtualbox, an hypervisor that allows you to very quickly configure virtual machines useful for test and development environments. This is a “quick-setup” so I will use the “bundled” version of Liferay, a distro that already contains the application server and all that is needed to run the web site properly. Specifically, I will use the version with Tomcat Application Server. Here the details of the system.
Virtual Hypervisor: Virtualbox 4.2
Guest Operative System: Linux Centos 6.3 x86_64
Liferay Portal: 6.1.1 GA2 Community Edition
Java JDK: 1.6.0_33
If you don’t have setup the virtual environment you can setup it first downloading Virtualbox here. Get also a “minimal” CentOS iso of the guest operative system here (about 340MB).You can assign to the Guest, 2GB of RAM and a 7GB virtual hard disk (use dynamically allocated storage option).
Start the guest machine and proceed with the Liferay installation. I usually make a dedecated user account for Liferay runtime environment (avoid using root to manage Liferay application layer; it’s generally a best practice to increase the security level).
$ useradd -m -d /home/liferay liferay
$ passwd liferay
Setup the user configuration for file handler and add the dns record for hostname in /etc/hosts file. We can also open the port 8080 updating the iptables configuration file for the http access to the portal.
$ ulimit -n
$ vi /etc/security/limits.conf
liferay soft nofile 4096
liferay hard nofile 65536

$ vi /etc/hosts
192.168.56.101	liferay-host

$ vi /etc/sysconfig/iptables
-A INPUT -m state --state NEW -m tcp -p tcp --dport 8080 -j ACCEPT
$ /etc/init.d/iptables restart
We download the Community Edition “bundled with Tomcat” Liferay directly using wget command. Get also a version of Linux x64 Java JDK from here (the access to the archive containing the older versions requires a user registration)
$ su liferay
$ cd --
$ wget http://sourceforge.net/settings/mirror_choices?projectname=lportal&filename=Liferay%20Portal/6.1.1%20GA2/liferay-portal-tomcat-6.1.1-ce-ga2-20120731132656558.zip
$ wget http://download.oracle.com/otn-pub/java/jdk/7u40-b43/jdk-7u40-linux-x64.tar.gz
Now unzip the archive by using the user application “liferay” and install the JDK.
$ ls -l
-rw-rw-r-- 1 liferay liferay  72029394 19 set 11:58 jdk-6u33-linux-x64.bin
-rw-rw-r-- 1 liferay liferay 254992070 11 set 12:06 liferay-portal-tomcat-6.1.1-ce-ga2-20120731132656558.zip

$ unzip  *.zip
$ chmod 755 jdk*
$ ./jdk-6u33-linux-x64.bin
Setup the JAVA_HOME variable for “liferay” user.
$ vi /home/liferay/.bashrc
# User specific aliases and functions
export JAVA_HOME=/home/liferay/jdk1.6.0_33
export PATH=$JAVA_HOME/bin:$PATH
$ exit
Finally check the java home and start the Liferay Tomcat application server.
$ which java
~/apps/java/jdk1.6.0_33/bin/java

$ /home/liferay/liferay-portal-6.1.1-ce-ga2/tomcat-7.0.27/bin/startup.sh
To monitor the Tomcat bootstrap we can do a “tail” on the log file.
$ tail -f /home/liferay/liferay-portal-6.1.1-ce-ga2/tomcat-7.0.27/logs/catalina.out
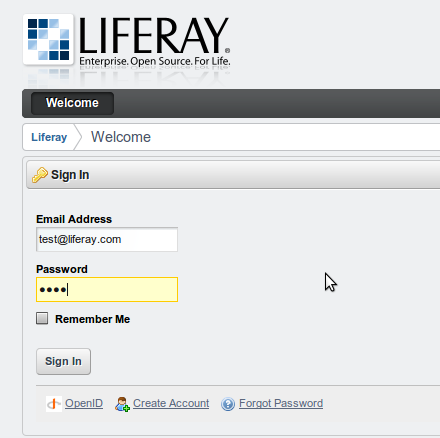
If there are no errors, Liferay start with the HSQL database instance (it’s installed by default in the archive unpacked earlier). Point your browser at port 8080 of the machine where Liferay is running to access to the welcome page of the portal.